The DataRobot Add-In for Excel® has been provided to help users model their data with DataRobot and make predictions against deployments created through the DataRobot web application. This guide will provide an overview of requirements, features, and some concepts to help you make the most of the Add-In.
You must have an existing account on a DataRobot Enterprise or Cloud application. You will be required to enter your API Token before you can take advantage of the Add-In features. You can find your API Token under your profile. For example, if you have a US Cloud based account your token would be found at https://app.datarobot.com/account/me.
This Add-In supports Excel® versions from 2010 through Office 365, but will only work on client installed versions, not the cloud-based Office 365 version.
This Add-In works only on Microsoft Windows® operating systems.
Make sure you have uninstalled any previous installations of the DataRobot Excel Add-in
Download the DataRobot Add-In folder and unzip it to install the Add-in from here
If you have already installed the DataRobot Add-In, you can skip the following steps and start by running DataRobotExcelSetup.msi
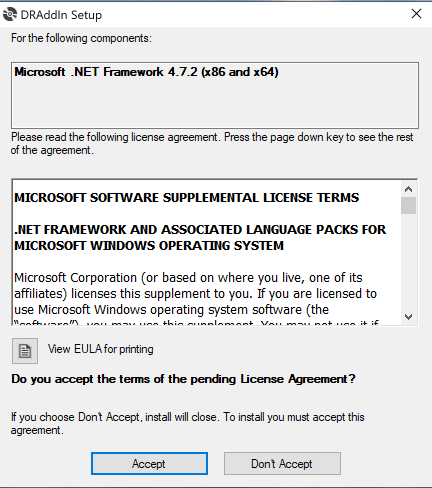
Setup.exe in the folder and accept this license agreement when it pops up.
Note: You may see the following warning from Windows Defender
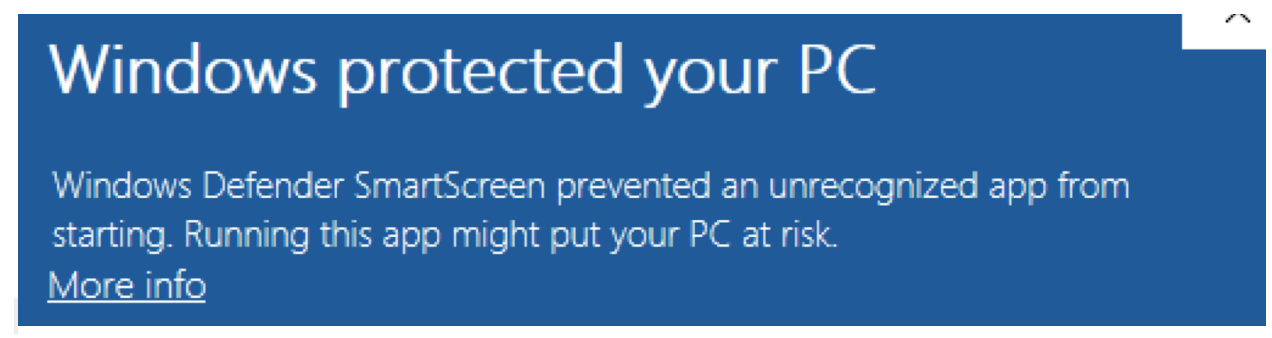
If so, click on the More info link and select run anyway.
Next select yes for permission to make changes to the system
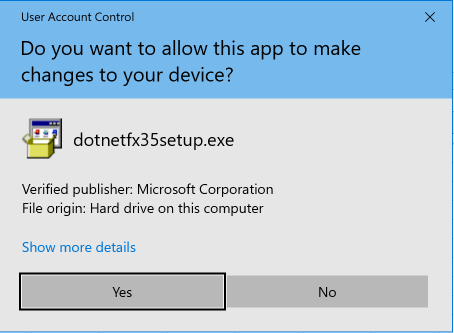
Note that this will not actually install the .Net Framework if it already exists. However, if you do not yet have the .Net Framework, it will be installed for you as it is a prerequisite of the Add-In.
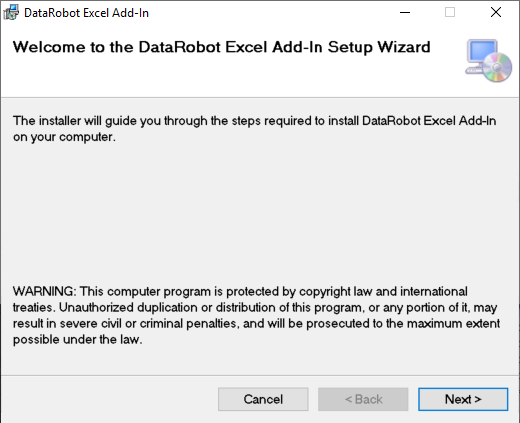
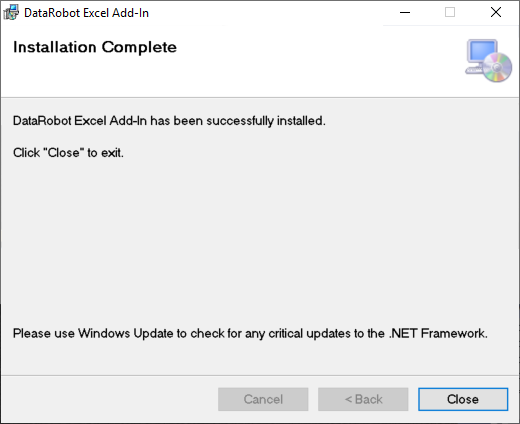
Next you will see the Windows Installer for the DataRobot Excel Add-in. Click Next to begin the process.
Next to continue.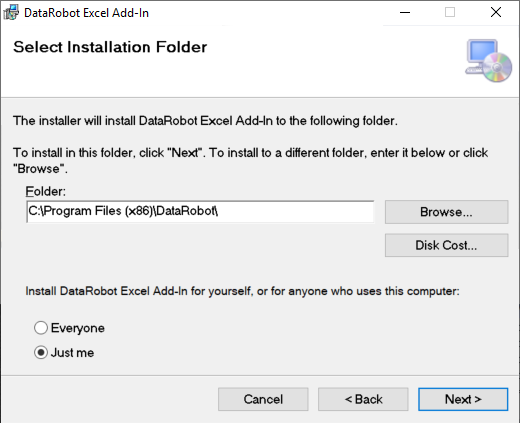
Next to begin installation.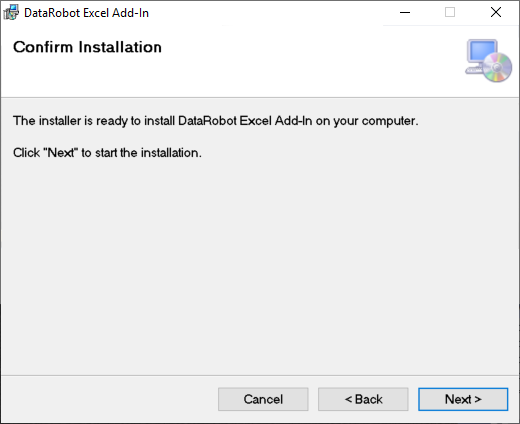
Yes in order to allow installation to continue.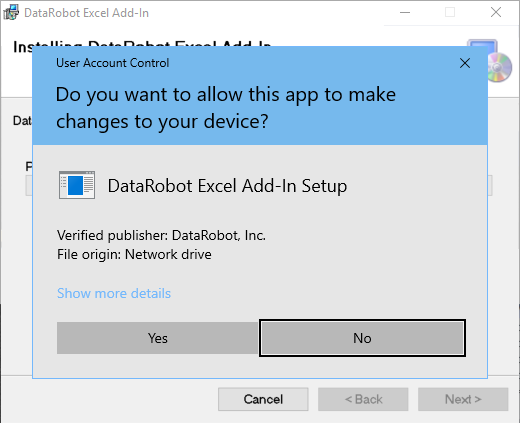

In general the Add-In works based off of data you have in an Excel® workbook. It doesn't matter if you open an existing workbook or start a new one, the DataRobot Add-In will perform operations on ranges of data within the sheets of your workbook. DataRobot Add-In will modify the workbook by adding sheets, but will never modify your existing data.
Logging in simply means providing the url for your DataRobot application instance and your API Token. The default url provided is for the US Cloud instance. You will need to enter your own url if you are in the EU cloud or using an on-premises Enterprise instance.

If you wish you can select Remember my token if you wish for the add-in to save your DataRobot API Token. This will not save the API Token in the workbook itself.
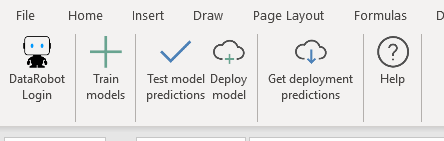
Click the Login button at the bottom of the form once you have entered the proper information. You will now see new buttons in the ribbon once you have logged in successfully.
In order to create a model, you start with a new project. Selecting the "Train models" button in the ribbon will open a new form allowing you to control a few aspects of the project. By default the data range will be whatever was selected when you clicked on the Create Project button.
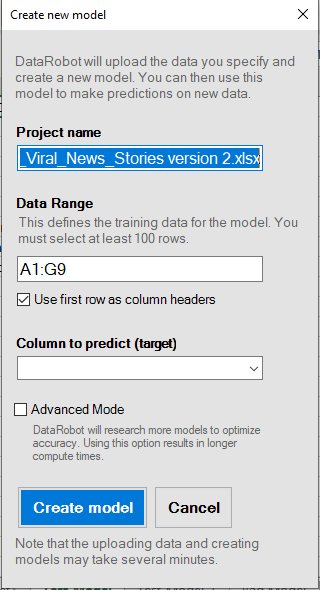
Once you are ready click Create model and a project will be created in your DataRobot instance with autom-modeling turned on. The process of modeling can take some time, so updates will be written to the status bar while you wait.
NOTE: Your Excel® workbook can be saved and closed at this point. Whenever you come back the Add-In will pick up with whatever state the modeling project is in.
A new sheet will be added to your workbook when modeling completes. This sheet will provide information about the best model DataRobot was able to produce from the data you provided.
Once you have a model result sheet you can test your model yourself with data you held back from the project creation step. The test mode allows you to test the model with up to 10,000 rows of data prior to deploying it. First, go to the sheet with test data. Click on the Test Model button in the ribbon to bring up the Test Model form. You can select a data range, or again by default use what was selected when you opened the form. You may then choose from any model sheet if you have more than one model result.
NOTE: The sheets created by the modeling process are what makes it possible to test the model represented. If you have deleted modeling sheets, you cannot test against that model via this method. Similarly, if a model sheet is in one workbook and your test data is in another, you cannot access the model sheet from your test data's workbook; they must be in the same workbook.
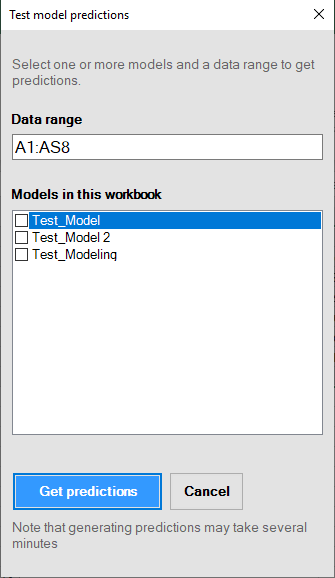
You can click on Get predictions once you have selected a model or series of models. This will send all of the data in the selected range and perform a batch prediction. This should take only a few seconds and will then return the results into a new sheet.
Once you have tested and trained a model to your liking, you can use the Deploy model button on the ribbon to bring up the Model Deployment form in order to deploy that model to a dedicated prediction server.
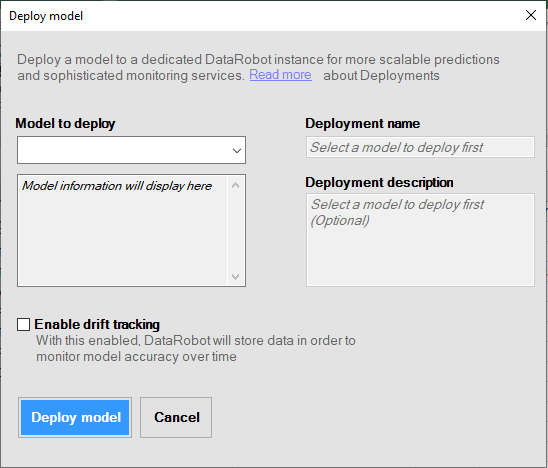
Once all required fields have been entered, click Deploy model to begin the deployment process. You will receive a notification when the process is completed.
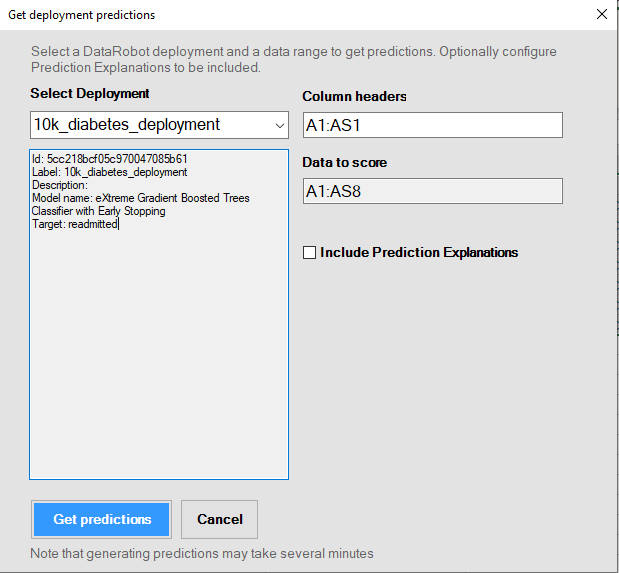
The predictions capability is based on Deployments which have been created in your instance of DataRobot. The prediction capability is not tied into the models you have created in the sheet. You will be presented with the Deployment Configuration form once you click the Get deployment predictions button in the ribbon.